Knowledge base Creating and assigning user roles and permissions
By Insight Editor / 17 Dec 2020
By Insight Editor / 17 Dec 2020
myInsight supports user roles and permissions that allow administrators to customize the procurement experience for individual users. When setting user roles, administrators can choose from a list of preset options or from more than 100 permissions.
Permissions can enable or disable most menu items, as well as lock or open various elements within those menu items. Default roles and predetermined profiles let you manage user experiences, even for hundreds of users, and make quick changes as your business needs change.
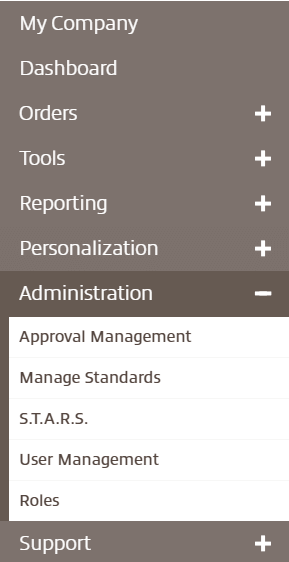
You can access the roles and permissions settings by selecting the Roles link under Administration.
Here, you can view preset roles or create entirely new roles encompassing more than 80 user-specific permissions.
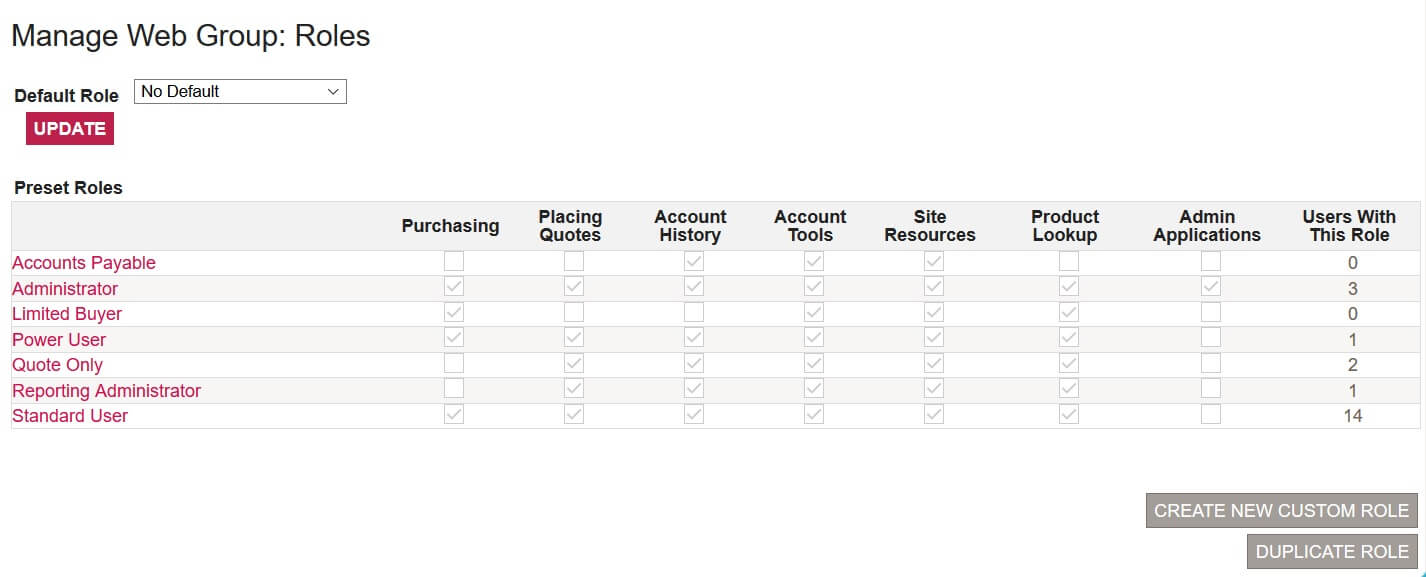
The default preset roles are defined as:
If you want to assign a role not found in the list, select Create New Custom Role. You can give the custom role a name and then mark each of the permissions you want the new role to have. Roles are categorized by global settings, client administration, account tools, resources, product lookup, pricing and transaction.
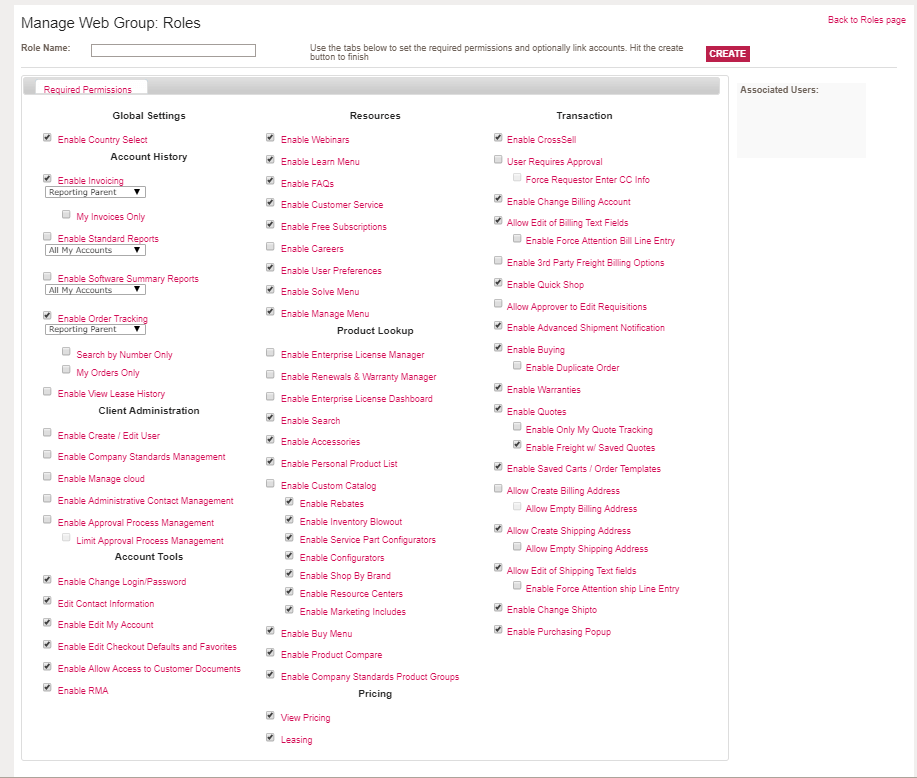
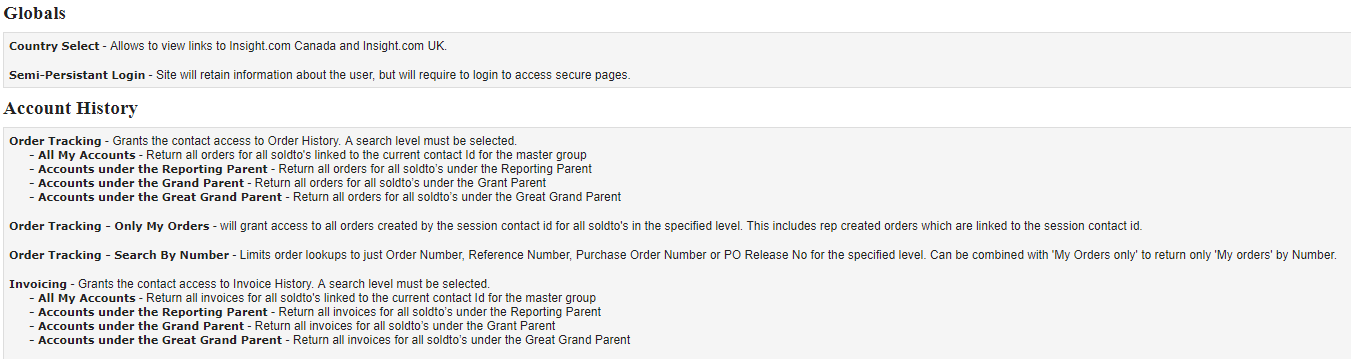
To find out what each permission allows, select the name of the permission. This will open a new window that displays the permission’s definitions.
Once you’ve chosen all of the permissions you’d like the new role to have, select Create on the permissions page to save the permissions tied to that role.
After creating roles, it’s important to assign them to individuals within your organization. To do that, select the User management link under Administration.
You can either choose an existing user or create a new user to whom you wish to assign a role.

Access the user menu by selecting either the name of a user or Add new user. Then, select Roles and Permissions. You can customize the permissions for the user or use a predefined role by marking one of the options at the top.